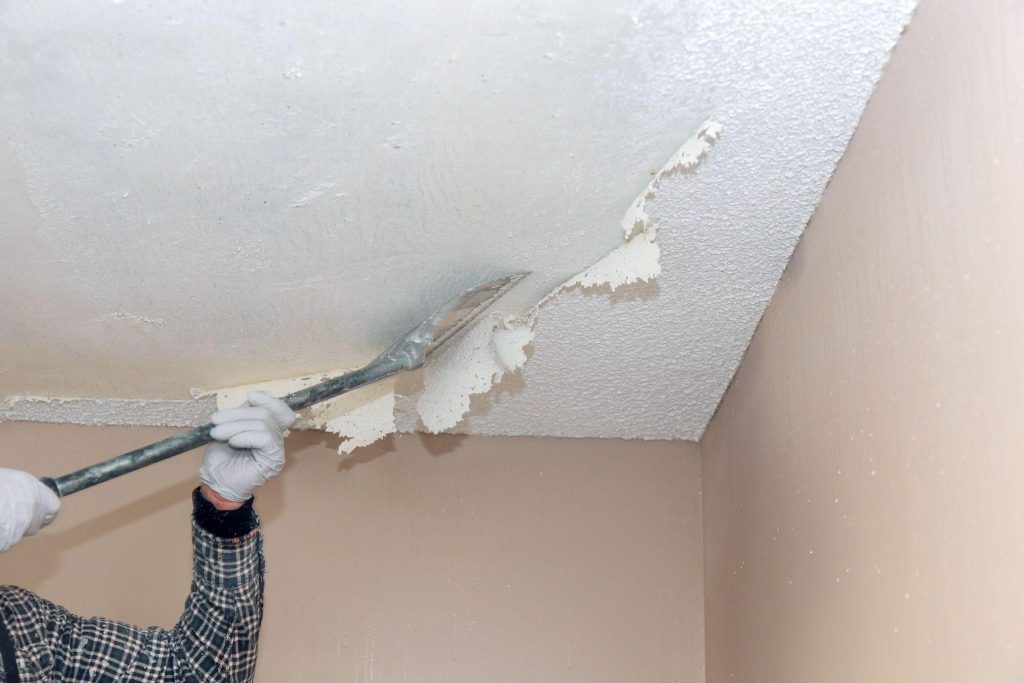
A leaky ceiling can be a homeowner’s nightmare. Whether caused by a torrential downpour, a burst pipe, or old roofing materials, water seeping through your ceiling can lead to costly damages if not addressed promptly. This guide will walk you through fixing a leaky ceiling and preventing future leaks. With the right tools, knowledge, and proactive measures, you can protect your home from water damage and keep your ceilings looking pristine.
Your Step-by-step Guide to Fixing Your Leaking Roof
Step 1: Identify the Source of the Leak
Before diving into repairs, the first step is to locate the source of the problem. A leaky ceiling often indicates an issue above, such as a damaged roof, a broken water pipe, or even condensation from poor ventilation. Start by checking the following areas:
- Roofing: Inspect for missing or damaged shingles, cracked flashing, or clogged gutters.
- Plumbing: Look for leaks in upstairs bathrooms or pipes that run through the attic.
- Ventilation: Check for signs of moisture buildup in the attic, which can drip onto the ceiling below.
If you cannot pinpoint the cause, contacting a professional like Brisbane Roof and Paint is a good idea. Their roof inspection and repair expertise ensures a thorough assessment and effective solutions.
Step 2: Contain the Damage
Once you’ve identified the source, it’s crucial to minimise further damage:
- Move Furniture and Belongings: Protect your valuables by moving them out of the affected area. Use plastic sheets to cover any heavy furniture that cannot be moved.
- Drain the Water: If water has collected in a sagging part of the ceiling, use a screwdriver to puncture the lowest point to release the water gently. Place a bucket underneath to catch it.
- Dry the Area: Use fans or a dehumidifier to dry the damp spots on the ceiling and in the attic. This step is essential to prevent mould growth.
Step 3: Repair the Ceiling
Now that the area is dry and the leak has been contained, it’s time to tackle the ceiling repair. Here’s how to proceed:
a) Patch Small Cracks or Holes
If the damage is minor, use spackling paste or a joint compound to fill in the cracks or holes. Smooth it out with a putty knife and allow it to dry. Once dry, sand the area for a seamless finish.
b) Replace Severely Damaged Sections
You may need to replace a section of the ceiling drywall for larger areas of damage. Follow these steps:
- Cut out the damaged section using a utility knife or drywall saw.
- Measure and cut a new piece of drywall to fit the hole.
- Attach the new drywall using drywall screws and a drill.
- Apply joint tape and a compound to seal the edges, then sand it smooth after it dries.
Step 4: Address the Root Cause
Repairing the ceiling is only part of the solution. To prevent recurring issues, address the root cause of the leak:
- For Roof Leaks: Repair or replace damaged shingles, flashing, or gutters. This is where professional services like Brisbane Roof and Paint come in handy. Their team specialises in leak roof repairs and can restore your roof to prevent future water intrusion.
- For Plumbing Issues: Replace or repair leaky pipes with the help of a licensed plumber.
- For Ventilation Problems: Improve attic ventilation by installing vents or dehumidifiers to control moisture buildup.
Step 5: Repaint the Ceiling
After the ceiling is repaired and dry, it’s time to restore its appearance. Follow these steps for a flawless finish:
- Apply a stain-blocking primer to prevent watermarks from bleeding through.
- Once the primer is dry, apply a fresh coat of paint that matches the rest of the ceiling.
- If needed, repaint the entire ceiling for a uniform look.
Brisbane Roof and Paint offers professional painting services that save you time and ensure a polished result. Their team uses high-quality paints and techniques to bring your ceiling back to life.
Preventing Future Leaks
Prevention is always better than cure. Here are some tips to avoid future leaks:
- Inspect Your Roof Regularly: Check for signs of wear and tear, especially after storms.
- Clean Gutters and Downspouts. Clogged gutters can allow water to back up onto your roof and leak into your home.
- Seal Gaps and Cracks: Check for gaps around vents, chimneys, and skylights. Use caulking or weatherproof sealant to keep water out.
- Monitor Indoor Humidity Levels: Use a dehumidifier in humid climates to prevent condensation buildup.
You can avoid costly repairs and maintain a safe, dry home by staying proactive and addressing potential issues early.
When to Call a Professional
While some ceiling leaks can be fixed with a DIY approach, others may require professional expertise. If the damage is extensive or the root cause is beyond your skillset, don’t hesitate to contact Brisbane Roof and Paint. From expert inspections to leak roof repairs, they provide tailored solutions that protect your home from further damage.
Conclusion
Fixing a leaky ceiling may seem daunting, but with the right steps and tools, you can restore your home and prevent future issues. Start by identifying the source, containing the damage, and repairing the ceiling. Most importantly, address the root cause to avoid recurring problems.
Brisbane Roof and Paint is your trusted partner for professional roofing solutions and leaking repairs. Don’t let a leaky ceiling dampen your home—take action today and safeguard your space for years.
